Installing TLS/SSL Certificates in Apache Server
V8.0
This article assumes that you have experience with Apache 2 and configuring Virtual Hosts in Linux or Windows.
Get the Certificate Files
You can download the files required to install the TLS/SSL certificate in the Apache web server from the RCL SSL Portal on the Certificate Details page.
Files Required
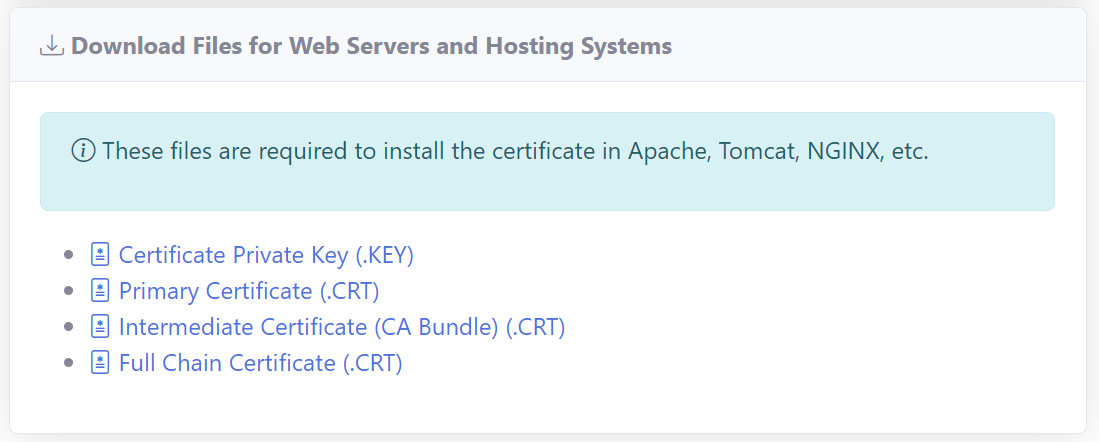
The files required are :
- Certificate Private Key (.key)
- Primary Certificate (.crt)
- Intermediate Certificates (CA Bundle) (.crt)
Download the files to a suitable folder in your hosting machine.
Linux Command :
wget -O filename.extension "https://url-of-the-file"
In Linux, you can use the wget command to download the file. Run the command for each file you want to download.
Windows :
Download the file to a folder in the hosting machine
Assigning the TLS/SSL certificate to Apache
After you have obtained the certificate files, the next step is to edit your Apache configuration file to use them.
It is assumed that you have Apache 2 already installed and hosting your website on your hosting machine. In addition, you have established your own custom domain name that points to your website.
Ensure the SSL module is enabled in Apache.
Linux Command
sudo a2enmod ssl
Windows :
In the conf/httpd.conf file, change the following lines by removing the leading # sign in order to uncomment the lines:
#Loadmodule ssl_module modules/mod_ssl.so
#LoadModule socache_shmcb_module modules/mod_socache_shmcb.so
#Include conf/extra/httpd-default.conf
#Include conf/extra/httpd-ssl.conf
Create or update a Virtual Host
In your hosting machine, create or update a Virtual Host entry or file for your domain under the recommended folder. Use it to enable SSL and include the certificate files as required.
If there is a SSL default template available in your Apache server, then use the template to create the Virtual Host.
In Linux, the Virtual Host files are usually located at:
/etc/apache2/sites-available
In Windows, the Virtual Host files are usually located at:
/Apache24/conf/extra/httpd-ssl.conf
Please see the Virtual host example below:
<VirtualHost *:443>

   DocumentRoot /path/to/mysite
   ServerName mydomain.com

# This is the important section

   SSLEngine on

   SSLCertificateFile	/path/to/primaryCertificate.crt
   SSLCertificateKeyFile /path/to/privateKey.key
   SSLCertificateChainFile /path/to/caBundle.crt

</VirtualHost>
Note : The SSLCertificateChainFile may be named SSLCACertificateFile in some apache installations.
You can modify the paths and file names to match the location that you used to save your certificate files:
- SSLCertificateFile - should be your Primary Certificate file (.crt)
- SSLCertificateKeyFile - should be the Certificate Private Key file (.key)
- SSLCertificateChainFile - should be the CA Bundle (Intermediate Certificates) file (.crt)
Ensure the actual files exists at the path shown above. If the files do not exist, Apache will not be able to re-start.
Ensure the Virtual host is enabled in Apache.
Linux example command for ‘mysite.conf’ :
sudo a2ensite mysite.conf
Reload the Apache service once you’re done.
Linux command:
sudo systemctl reload apache2
In Windows, save the virtual host file and restart the Apache service.
Now you can confirm your domain SSL certificate using any of the SSL checker tools available. Or you can just browse the URL.