Installing TLS/SSL Certificates in NGINX
V8.0
This article assumes that you have experience with NGINX in Linux or Windows.
Get the Certificate Files Manually
You can download the files required to install the TLS/SSL certificate in the NGINX web server from the RCL SSL Portal on the Certificate Details page.
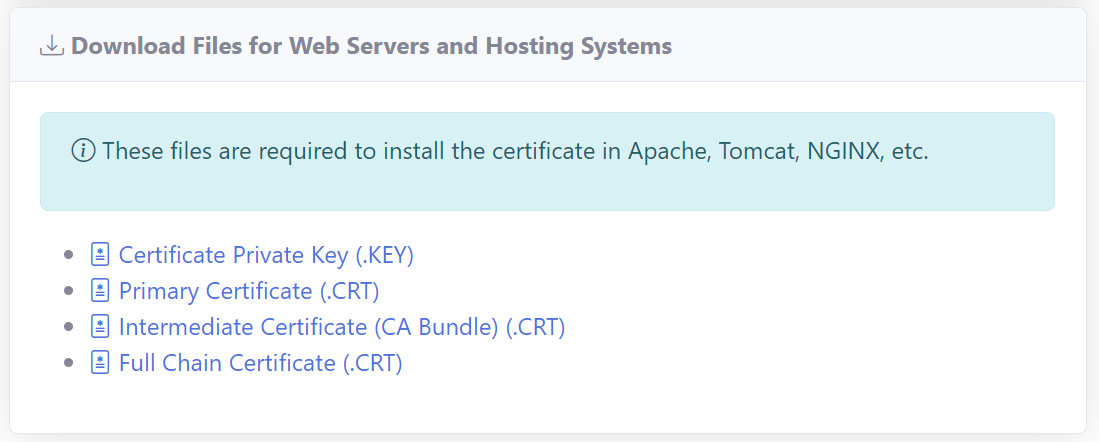
Files Required
The files required are :
- Certificate Private Key (.key)
- Full Chain Certificate (.crt)
Download the files to a suitable folder in your hosting machine.
Linux Command :
wget -O filename.extension "https://url-of-the-file"
In Linux, you can use the wget command to download the files. Run the command for each file you want to download.
Windows :
Download the file to a folder in the hosting machine
Web Server Configuration
It is assumed that you have NGINX already installed and hosting your website on your hosting machine. In addition, you have established your own custom domain name that points to your website.
Update your configuration file.
For Linux, look in :
/path-to-nginx/sites-enabled
For Windows, look in :
/path-to-nginx/conf/nginx.conf
Add or update these attributes to the sites you want HTTPS on
# General SSL configuration

listen 443 ssl default_server;
listen [::]:443 ssl default_server;

# Important part

ssl_certificate  /path/to/fullChainCertificate.crt;
ssl_certificate_key  /path/to/privateKey.key;
You can modify the names of the files and paths to match the location and filename that you used to save your certificate files.
Remember to reload the service, or restart if it’s a new site.
Linux command :
sudo systemctl reload nginx
Windows command :
nginx -s reload
Now you can confirm your domain SSL certificate using any of the SSL checker tools available. Or you can just browse the URL.